Multi Page Changes
How to use Change Sets to support changes across diferent pages / views
Sometimes for a given agent, be it AB test or Targeting, the variations needs to perform changes across diferent pages, URLs, screens or views. The way to do so with Conductrics is by making use of Change Sets.
The way Change Sets work is by providing multiple triggers (for example could be multiple page loads through URL conditions or different View States) and for each set of triggers you can then add the necessary WYSIWYG or Custom JS changes to each of the tests variations.
What this means is that if a visitor lands on any of the pages that this different Change Sets cover, then at that time the randomization or targeting will ocurr, and depending on what experience the visitor gets and wheter the visitor triggered Change Set 1, or Change Set 2, etc, the correponding code changes will be applied.
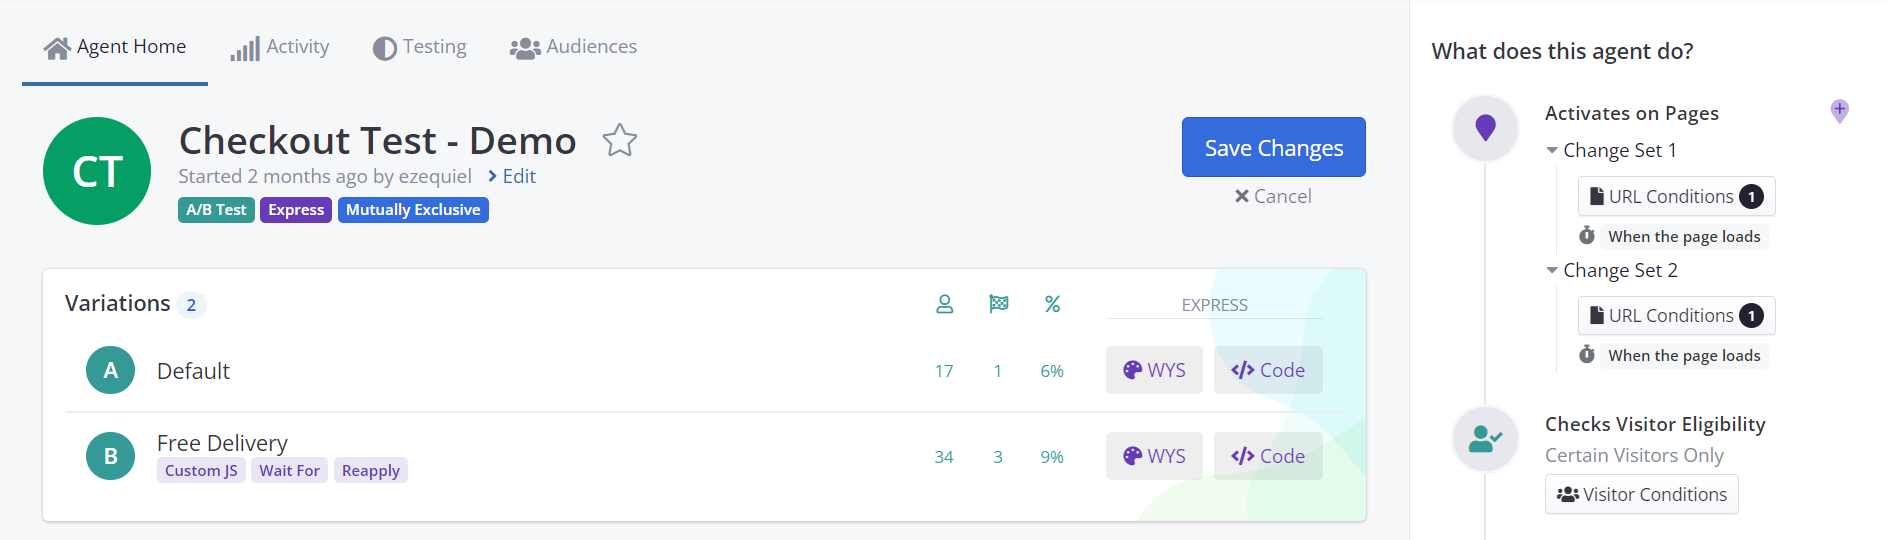
You can add Change Sets to an existing agent through the Agent Home page, by clicking on the purple + sign at the top of the right sidebar.
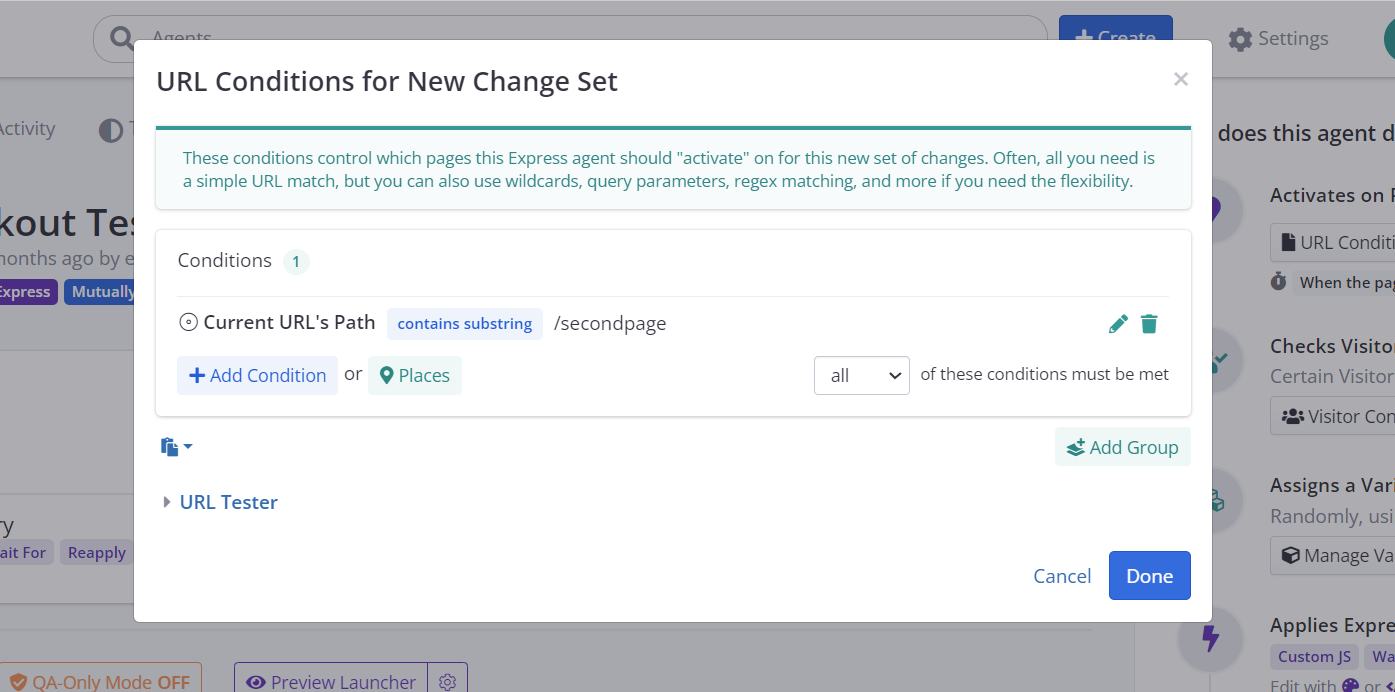
This will open up a modal for you to set any conditions for this second set of pages / screens where you would like this agent to make changes in. So for example if your agent as already set to do changes on /firstpage, now you can include /secondpage as the new URL condition for this new Change Set, like below.
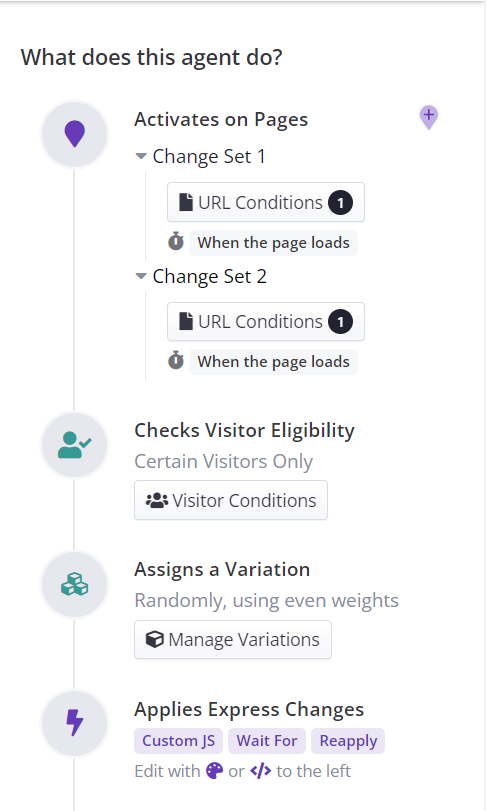
Once a new Change Set is added, you'll notice that on the right side bar, under Activates on Page section, you'll now have a list of the different Change Sets added and its triggers
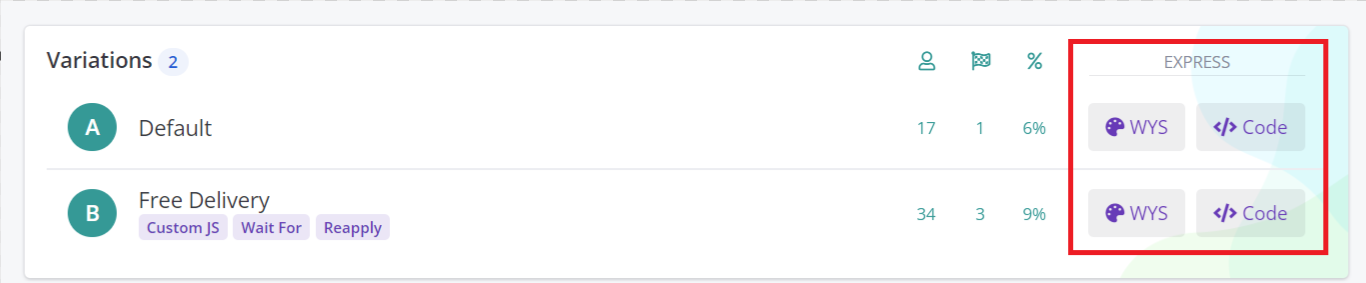
With this, you have already set up the agent to include multiple triggers across different URLs. Now the next step should be to add the necessary changes to this new Change Set on /secondpage. The way to proceed is the same as when setting up the agent for the first time, which means, selecting either the WYSIWYG or the Custom JS options for the corresponding variant as follows:
Wha's different is that once you click on the desired option, a new dropdown list will show up, where you'll be able to pick for which Change Set you intend to operate with.
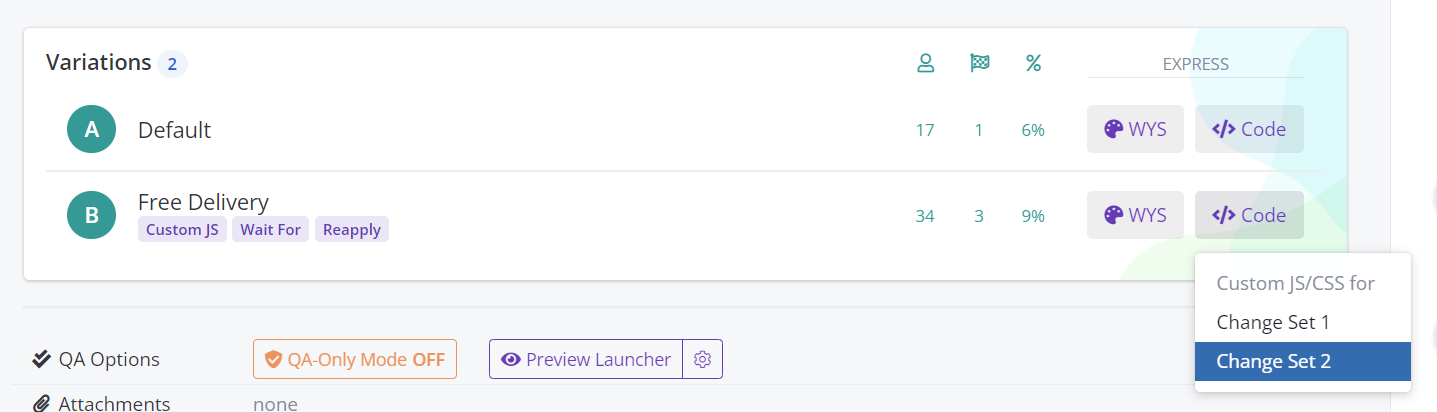
After clicking on the desired option, you will be prompted either to the Custom JS menu or to the WYSIWYG extension so you can implement the neccesary changes for this agent and once you finished, you can then just Save Changes on the Agent Home page.
Updated over 1 year ago