Demandbase Integration
Add Demandbase lookups to your Conductrics agents to filter tests or target by industry, etc
Getting Set Up
First, go to the Targeting Setup page, check the Enable Demandbase Integration option, and provide the Demandbase Key that goes along with your Demandbase account.
Just leave the Account Watch field empty for now, we'll get to that below.

Demandbase Integration settings
Filtering Visitors using Demandbase Data
If you wish, you can include/exclude visitors from a particular test or optimization, like so:
- Go to the Conductrics Agent that's running the test or optimization.
- Click Edit Agent at the top of the page.
- Under Who Sees What, you'll see a message that reads Agent is enabled for All visitors. Click on the "All" to set up which visitors you want to be included or excluded.
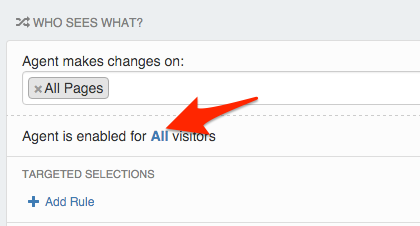
Now you should be looking at a Conditions window that looks something like this. At first there are no conditions, meaning that all visitors are included in the test or optimization that the Agent is running.
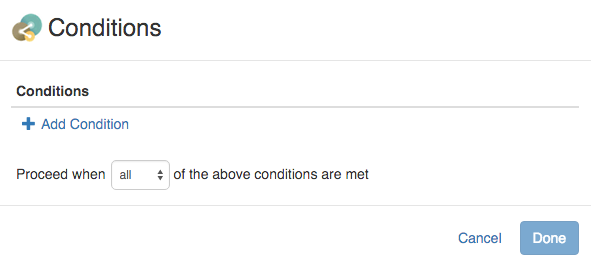
Click Add Condition to start adding a new little "condition" or "rule" for which visitors should be exposed to your Agent.

Choose the Demandbase field you're interested in.
- On the left, choose one of the Demandbase fields such as Industry, Sub-Industry, Revenue Range, or the like. The Demandbase-related fields are all named starting with "DB" to make them easy to spot.
- On the right, you can choose or provide the desired value or values to complete the condition.
For instance, if you wanted only those visitors in the Apparel industry to be included, you might see something like this at this point:

Specify the Demandbase value you're interested in basing your condition on
Click the blue checkmark when you're done filling out the condition. You'll see something like this:

You can have multiple conditions too.
At this point, you could add additional conditions if you wanted to. There's more info about setting up conditions in general here (link TBD).
When you're finished setting up the conditions, click the Done button to return to your agent. You should see that the Who Sees What section now reads "Agent is enabled for Certain visitors" rather than All visitors:

You can click on the "Certain" to review or change the conditions.
Don't forget to click Save at the top of your agent's page if you want to keep your new conditions.
Updated over 1 year ago